Irrometer Watermark Series: Installation Procedures
This publication series provides information and recommendations pertaining to the Irrometer Watermark 200SS, a granular matrix sensor commonly used in Mississippi for scheduling irrigation. Future publications will discuss other types of soil moisture sensors. Users should choose tools that best fit their needs.
Introduction
Proper installation increases the likelihood that sensors will accurately portray the wetting and drying of the crop root zone. This publication provides a step-by-step guide to installing a set of Watermark sensors properly.
When to Install
Consider sensor installation as soon as you can confidently assess the stand of the emerged crop. To minimize plant disturbance, install sensors during the early vegetative growth stages—VC to V3 for soybean, V1 to V4 for corn, and cotyledon to first square for cotton. Late installations commonly result in incorrect sensor placement and excessive shoot/root damage, both of which can lead to centibar readings that tend to be too low.
Preconditioning
Preconditioning sensors before installation shortens the time the sensors take to acclimate to the surrounding soil after installation. This preparation involves artificially wetting and drying sensors in the following manner.
Day before Installation

Soak for 30 minutes in the morning with the water level halfway up the sensors.
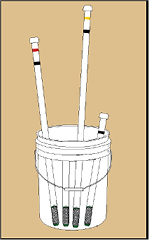
Drain the water out of the bucket, and let the sensors dry for the rest of the day.
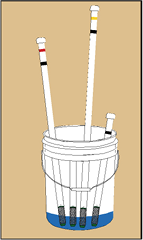
Refill the bucket to a similar water level and soak overnight before field installation.
Day of Installation


Install the sensors wet, but ensure all excess water in the PVC pipe has drained out of the weep hole.
Without proper preconditioning, sensor readings may misrepresent the soil water status for much of the growing season.
Installation
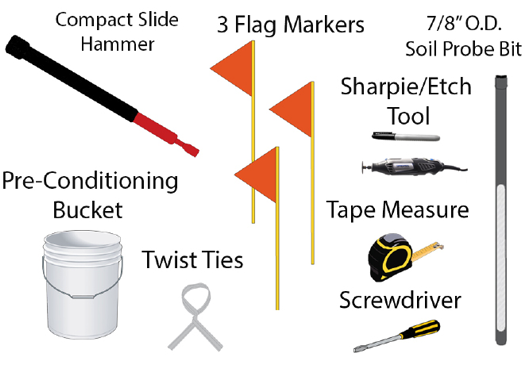
Gather the necessary tools. For the 6-, 12-, 24-, and 36-inch sensors, draw, tape, or etch markings onto the soil probe bit 7.5, 13.5, 25.5, and 37.5 inches, respectively, from its cutting edge.
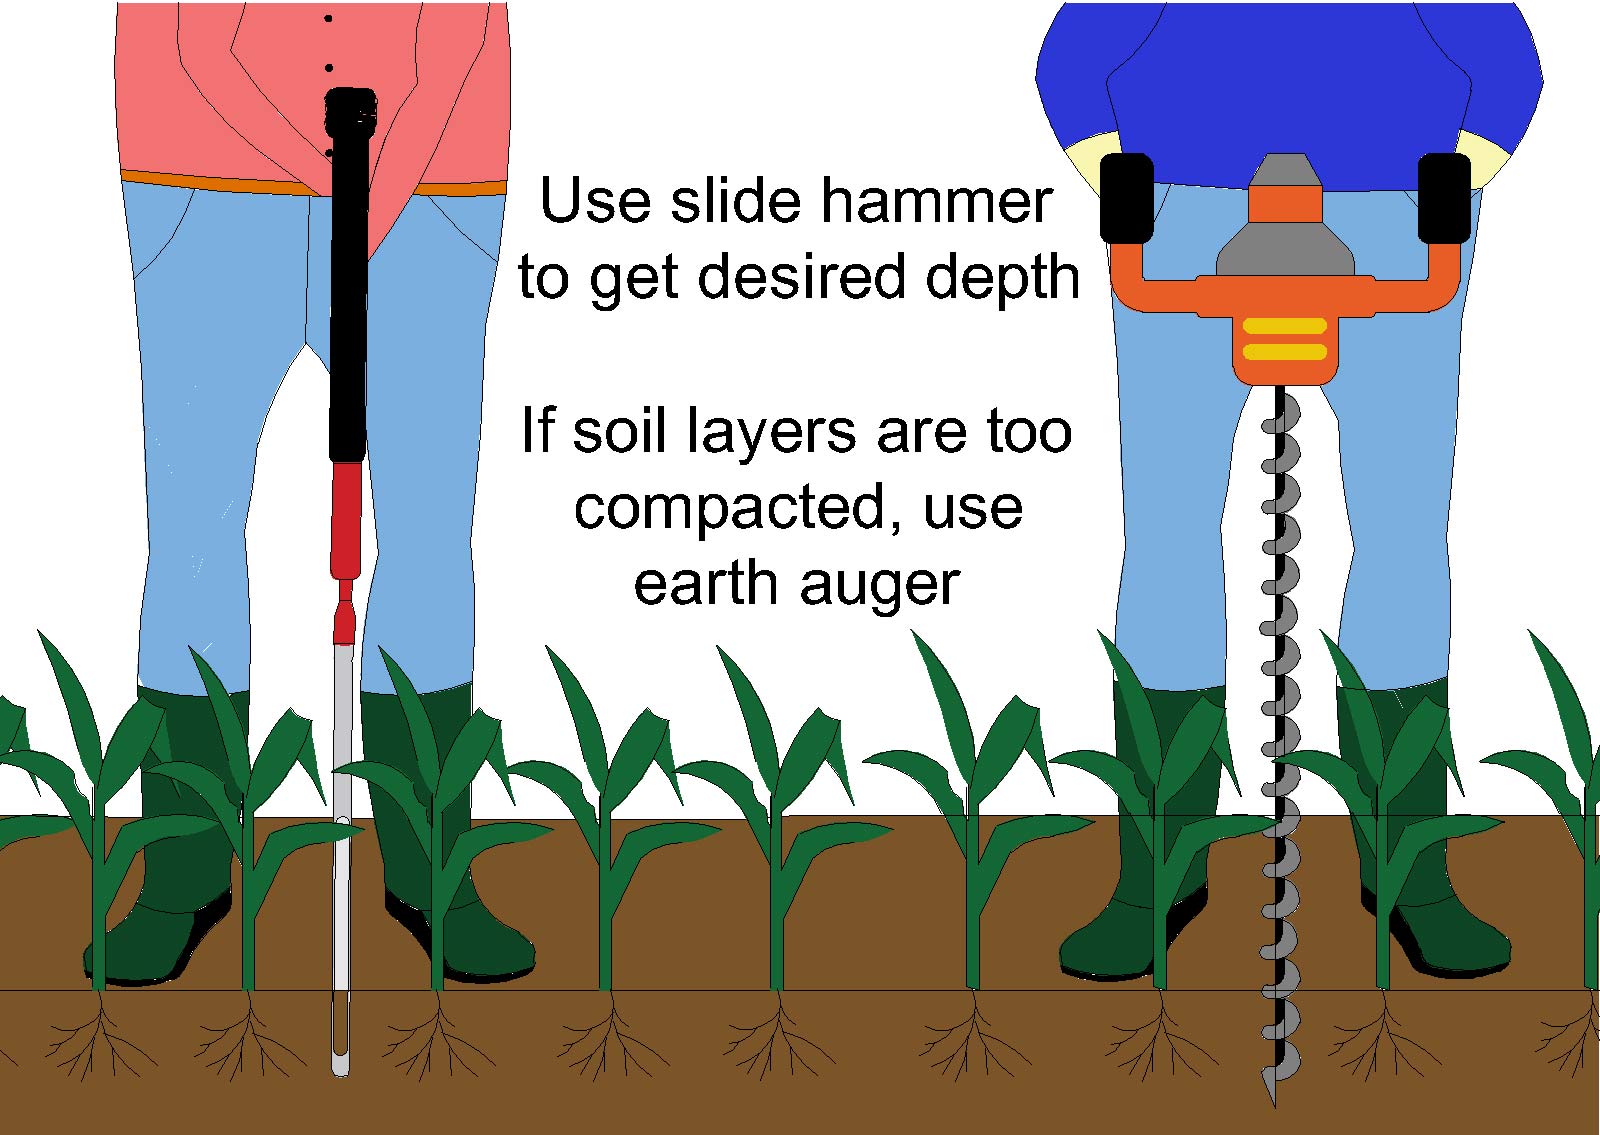
Step 1: At the selected location, create a vertical hole for the 6-inch sensor. Keep pushing deeper until the marking corresponding to this sensor depth is even with the soil surface. If the soil is compacted, use a ⅞-inch OD auger bit with a cordless drill or gas power head.
Step 2: Create a thick slurry by thoroughly mixing powdered soil (preferably sieved) with preconditioning water. Pour this smooth “batter” (not “broth” or “paste”) into the hole to fill it halfway.

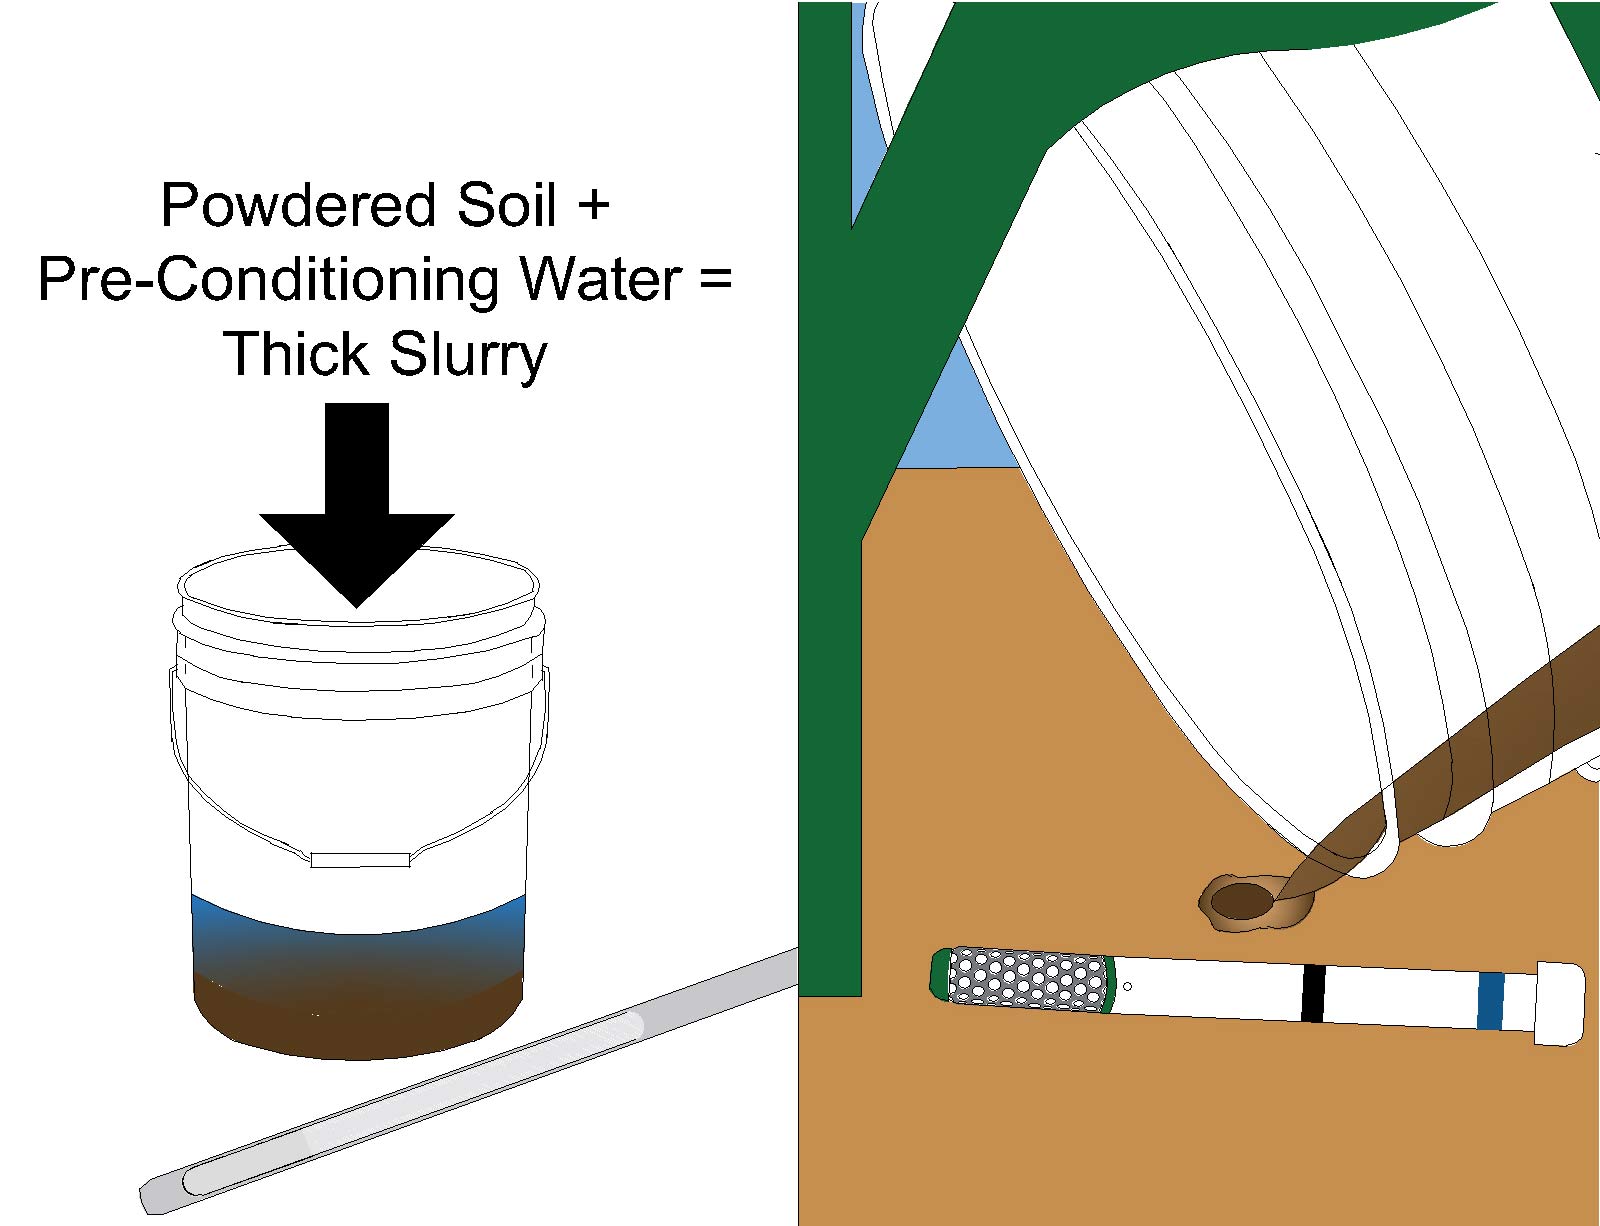
Step 3: Push the sensor down into the hole until the bottom of the black electrical tape is even with the soil surface. Some of the slurry should ooze out. Around the lip of the hole, pack down the existing soil and then a mound of additional soil, holding down the rubber washer (if used) to further reduce water leakage into the hole.

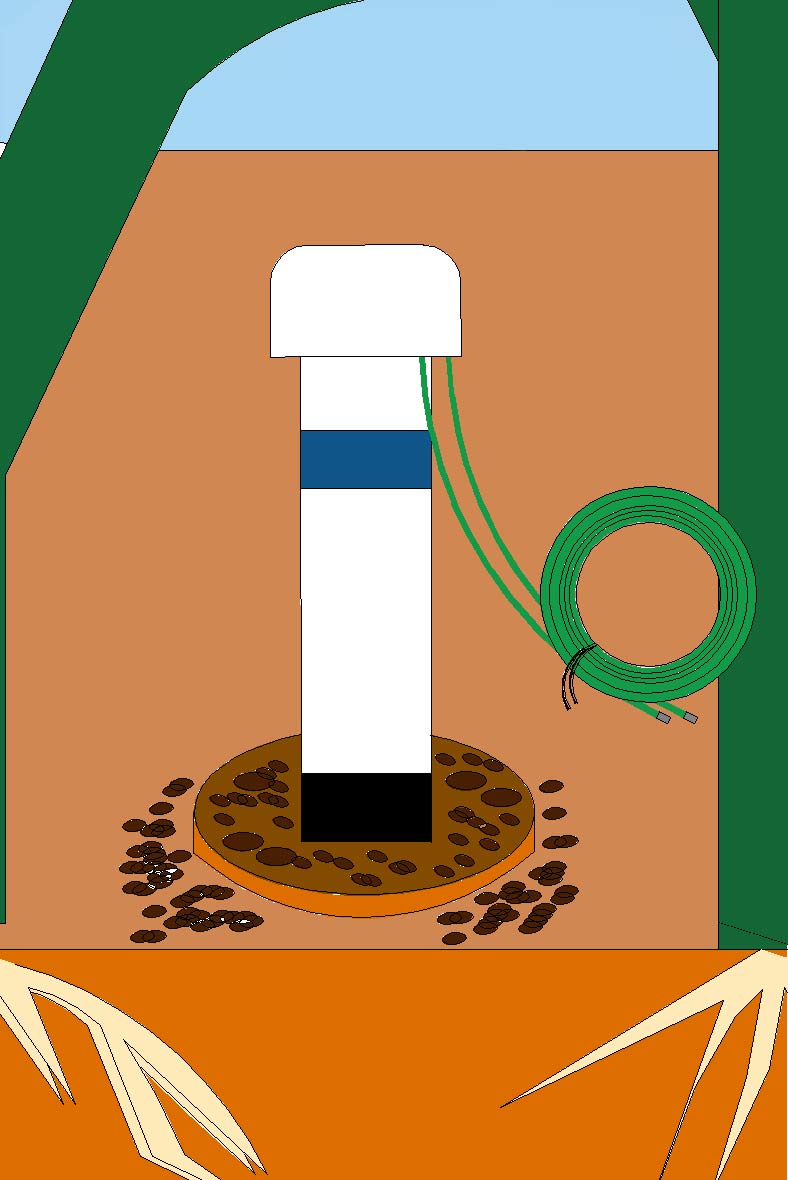
Step 4: Repeat steps 1–3 for each of the 12-, 24-, and 36-inch sensors. Space the sensors about 1 foot apart. Place a flag at the sensor location and at both the top and bottom ends of its crop row to make finding the sensor set easier.
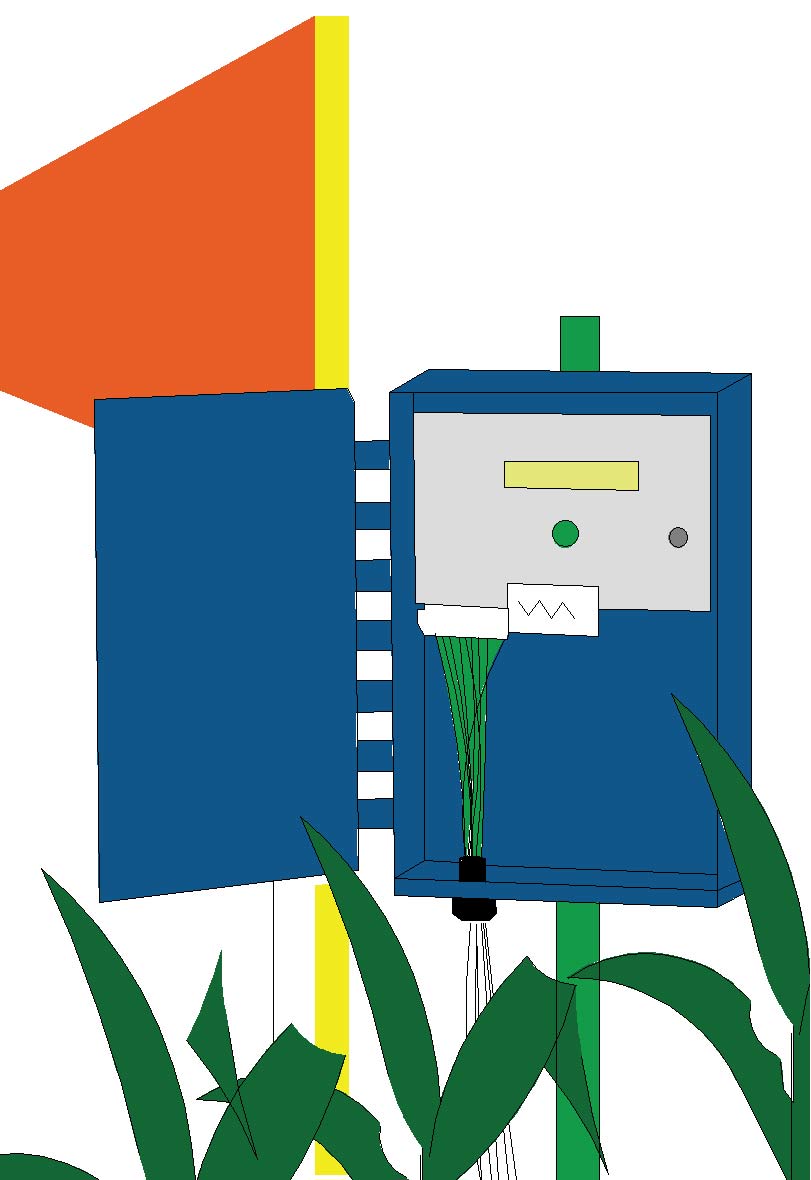
Step 5: If hooded spraying or cultivating is still planned, bundle the wires with twist ties. Connect the sensors to the datalogger/telemetry unit after those field operations. You may need a screwdriver to connect the wires to the measurement device.

For more information, please contact Extension Irrigation Specialist Drew Gholson at drew.gholson@msstate.edu or (662) 390-8505.
This publication is a contribution of the National Center for Alluvial Aquifer Research (NCAAR), the Mississippi State University Extension Service, and the Row-Crop Irrigation Science Extension and Research (RISER) initiative. NCAAR is supported by the Agricultural Research Service, United States Department of Agriculture (USDA), under Cooperative Agreement number 58-6001-7-001. RISER is supported jointly by Mississippi Soybean Promotion Board, Mississippi Corn Promotion Board, Mississippi Rice Promotion Board, Cotton Incorporated, Mississippi Peanut Promotion Board, and by USDA’s Natural Resources Conservation Service under Conservation Innovation Grant number NR203A750008G007.
The information given here is for educational purposes only. References to commercial products, trade names, or suppliers are made with the understanding that no endorsement is implied and that no discrimination against other products or suppliers is intended.
Publication 3540 (POD-09-24)
By Jacob Rix, former Extension/Research Associate; Himmy Lo, PhD, Assistant Extension/Research Professor, Delta Research and Extension Center; Drew Gholson, PhD, Assistant Professor and Coordinator, NCAAR, and Mark Henry, Extension Associate II, Delta Research and Extension Center.
The Mississippi State University Extension Service is working to ensure all web content is accessible to all users. If you need assistance accessing any of our content, please email the webteam or call 662-325-2262.


